Cushion Cover Handout
Hello :)
Congrats on completing the Sewing For Beginners class, we hope you loved the session and feel confident in threading and using a sewing machine. We've put together this handout for you to walk through the process again. This handout won't be in so much detail as the class, but it will guide you through the steps.
Running through this handout soon after the class will help you get to know your own machine, gain confidence, further develop your skills, strengthen your sewing foundation and give you that sense of achievement you felt after completing your first cushion cover! If you're ready for the next step, secure your space in the Intro to Garment Making class asap, spaces for this class fill up fast.
Good luck, allow the mistakes to happen and don't be too hard on yourself, you can always unpick stitches!
Sophie xoxo
On each short end of the fabric, draw a 1" line to mark your double folded hems.
Now head over to your ironing board with your fabric, it's time to iron your double fold hems in place.
Congrats on completing your second cushion, and don't worry if it's not perfect, it's a learning curve. If you feel ready to learn more, we recommend joining the Intro to Garment Making Class next. You'll learn so much in this class which will help you on your sewing journey.
Congrats on completing the Sewing For Beginners class, we hope you loved the session and feel confident in threading and using a sewing machine. We've put together this handout for you to walk through the process again. This handout won't be in so much detail as the class, but it will guide you through the steps.
Running through this handout soon after the class will help you get to know your own machine, gain confidence, further develop your skills, strengthen your sewing foundation and give you that sense of achievement you felt after completing your first cushion cover! If you're ready for the next step, secure your space in the Intro to Garment Making class asap, spaces for this class fill up fast.
Good luck, allow the mistakes to happen and don't be too hard on yourself, you can always unpick stitches!
Sophie xoxo
1. Fabric Recommendatons
Start with easy to sew fabrics that do not have much stretch. Here’s a list of some fabrics we love using for envelope cushion covers:- 100% Cotton
- 100% Linen
- Cotton/Linen Blend
- Upholstery Fabric
- Cotton Duck
2. Tools & Equipment
- Sewing Machine
- Fabric
- Iron & Ironing Board
- Quilting Ruler
- Fabric Scissors
- Tailor's Chalk
- Pins or Wonder Clips
- Quality Thread (We recommend Rasant)
- Thread Snips or Scissors
- Cushion Insert
3. Making the Pattern
If you forgot your pattern at the shop, or if you want to make a cushion cover in a different size, here is the formula for you to create your own pattern.- Length = (Insert Size x 2) + 6"
- Width = Insert size + 1"
- Length = (17.5 x 2) = 35 + 6 = 41
- Width = 17.5 + 1 = 18.5
4. Double Folded Hems
Open up your fabric nice and long (not folded). Place on table with the wrong side up so that you can mark out your double folded hem lines on the back.
On each short end of the fabric, draw a 1" line to mark your double folded hems.
Now head over to your ironing board with your fabric, it's time to iron your double fold hems in place.
- Make sure your iron is off steam
- Start on the side you hold the iron and fold the fabric towards the line, but only half way. Do not fold straight to the line yet. If you remember, in class we fold half way to the line first, and then once that's ironed, we repeat and the second fold lands on the line.
- After completing the second fold, steam press the double fold and use the spray to really set it in place.
5. It's Sewing Time!
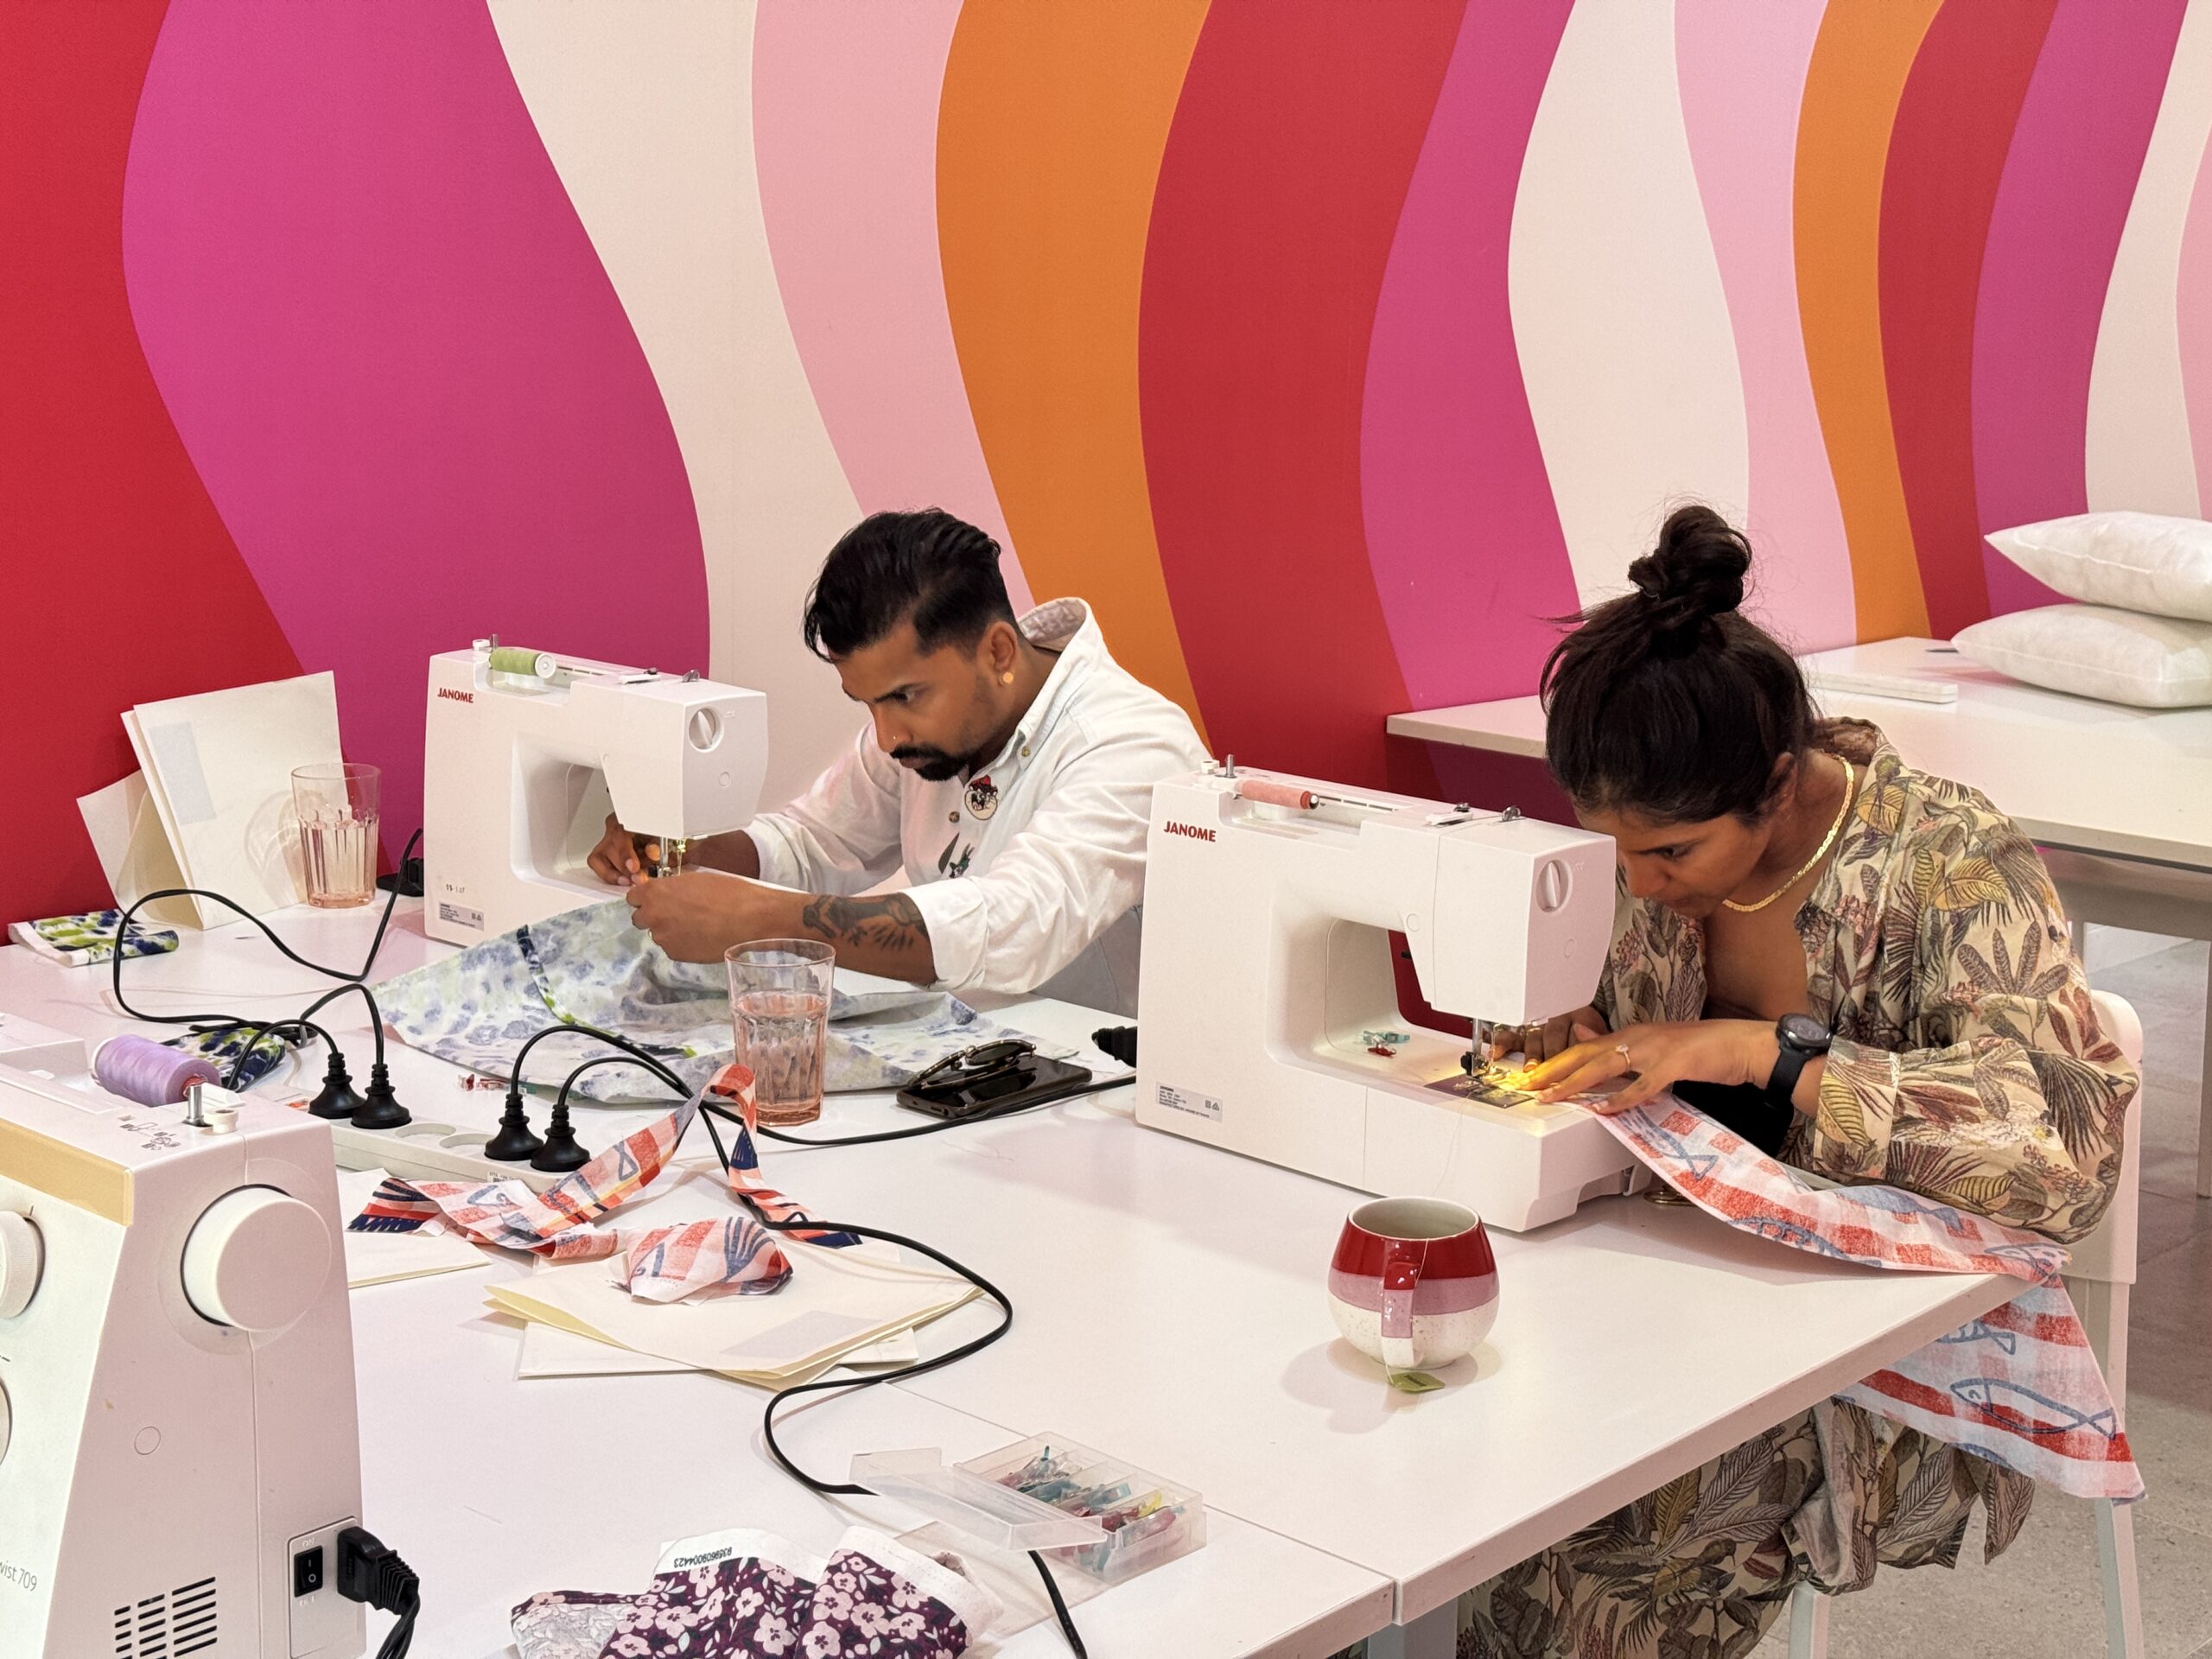
Thread the machine and position your fabric just past that hole in the foot (under the needle). Check your guide and sew the inner edge of the double folded hem (the side closest to the middle of your fabric). TIP: Don't look at the needle when you're sewing, keep an eye on your guide! TIP: When you've finished sewing, if you have a mechanical machine, remember to finish with your hook up (needle at it's highest position). Digital machine users don't need to worry about this.6. The Folding Technique
This folding technique is slightly different to the one we went through during the class, this version get's the same result but is a lot easier to explain the steps with written words- Determine the centre point by folding the fabric in half, right sides together (nice print on the outside).
- Crease the fabric on the fold with your hands
- Open your fabric back out and lay it flat. Wrong side down so that you're looking at the side that'll eventually be on the outside.
- Take your favourite double fold hem and fold it to the middle of the fabric where you can see the crease you created in step 1.
- Align the sides
- Take your quilting ruler and lay it across that double folded hem you just folded to the crease line
- Take the other double folded hem (your least favourite) and pull it on top of the ruler, lining it up 4" over your favourite double folded hem.
- Align the sides.
- Clip or pin the four corners, then slide the ruler out and clip each double folded hem to mark out each area that you need to backstitch.
- Sew using a 1cm seam allowance.
- Zigzag the edges to secure them.
Congrats on completing your second cushion, and don't worry if it's not perfect, it's a learning curve. If you feel ready to learn more, we recommend joining the Intro to Garment Making Class next. You'll learn so much in this class which will help you on your sewing journey.