Fun Team Events in Sydney: Workshops That Do It Differently
If you're on the hunt for fun team events in...
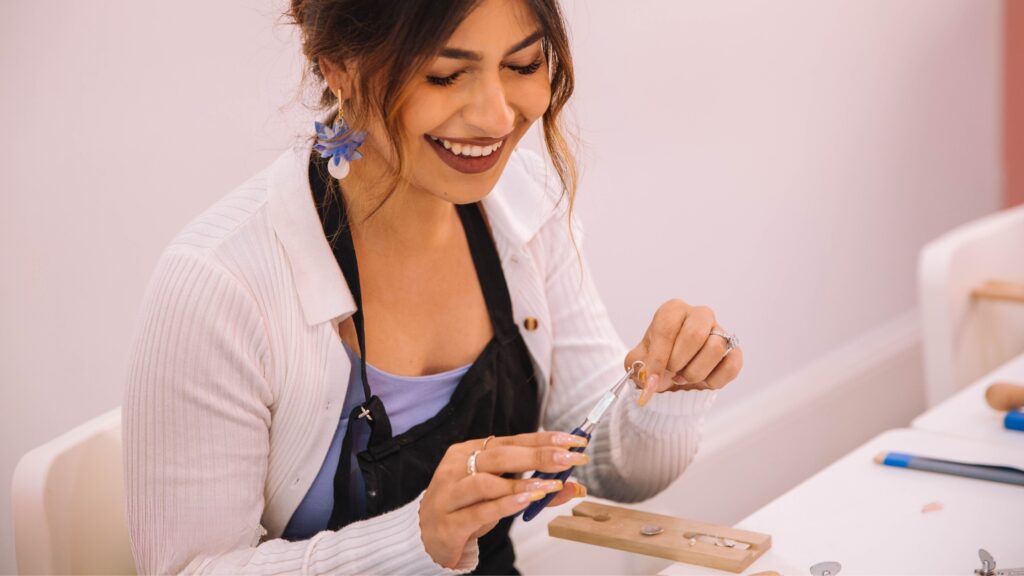
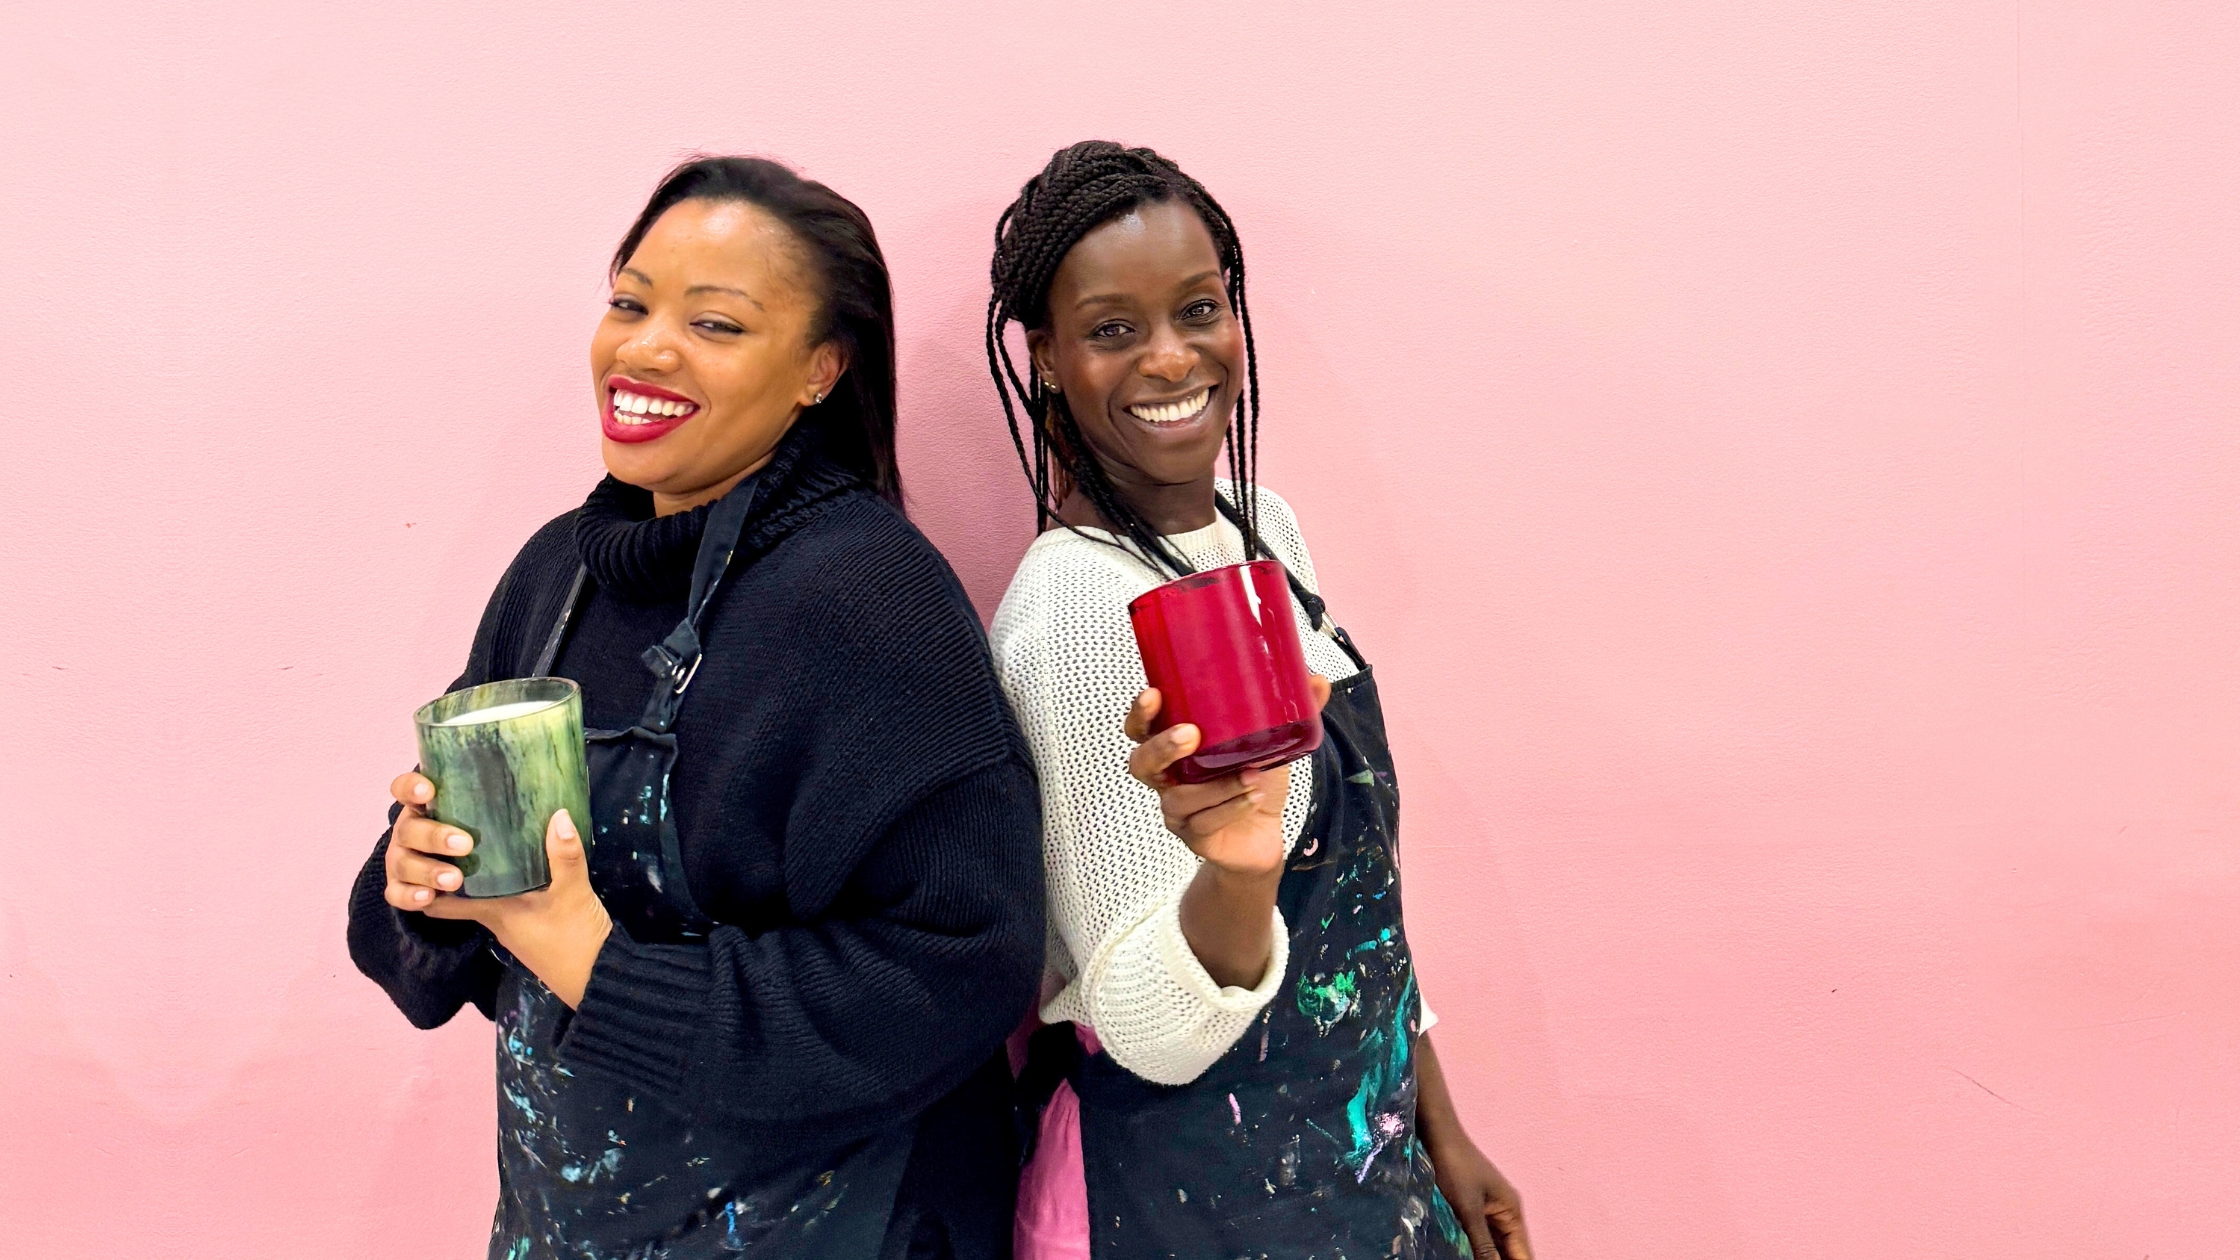
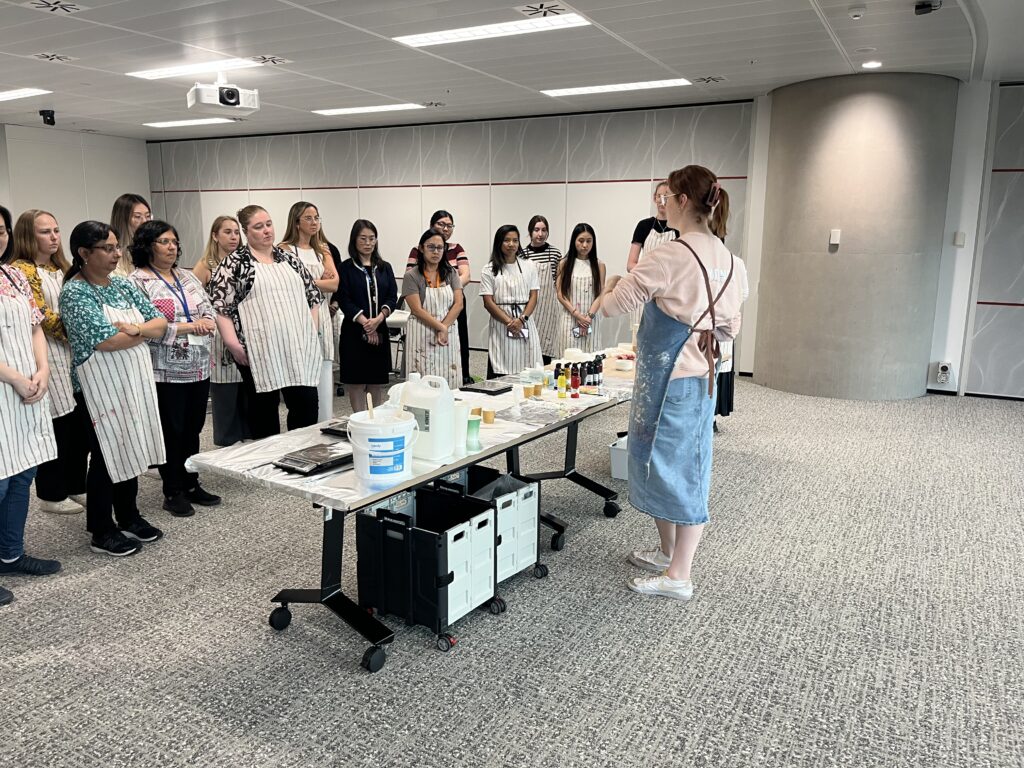
If you’ve joined one of our candle making classes, you know it’s more than just wax and fragrance, it’s an experience. Each candle is hand-poured by you, into one of our extra large jars, and it deserves a little TLC to make the most of its life (and smell).
Here’s how to burn it like a pro, care for it properly, and even what to do when the last flicker fades.
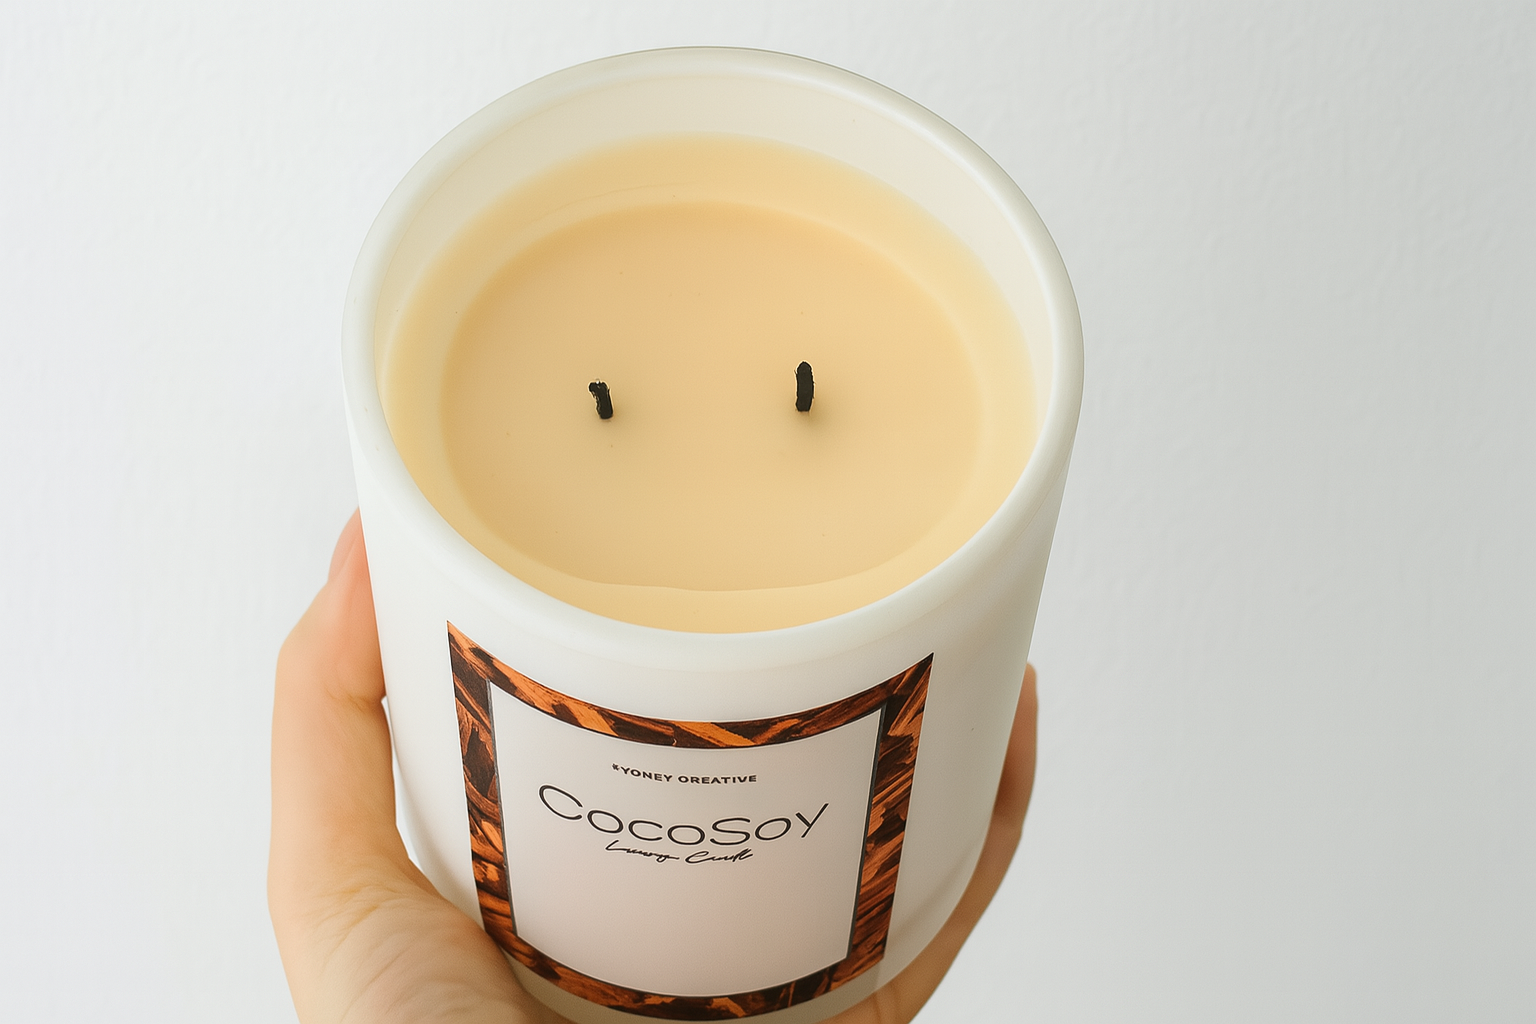
The first burn is so important! For our XL Jar, the initial burn should be 4 full hours. This helps the wax melt all the the way to the edge of the jar, setting the “memory” for an even burn in the future.
A slight overhang (just a few millimetres) is totally normal - it will usually catch up on the second or third burn. Just make sure it’s not more than a few millimetres.
Below is a perfect example of how tunnelling starts. The wax didn’t melt all the way to the edges, which creates a narrow ring that gets deeper each time you light it. To avoid this, always burn your Sydney Creative candle for a full 4 hours the first time- or until the melt pool reaches right to the sides. A clean, even top now means better burns (and scent) later!
To get the full 50+ hour burn time and avoid tunnelling or sooting, follow these quick tips:
Once your candle has burned down, leave about 1cm of wax at the bottom and let the jar return to room temperature. Once the jar is at room temp, pop it in the freezer overnight. The wax will harden and shrink away from the sides, making it easier to get out.
The next day, simply turn the jar upside down, hold it in one hand, and give the base a firm tap with the palm of your hand. The wax should pop out. Use a spoon to gently lift out the metal wick tabs if needed.
Finish with a quick rinse in warm soapy water, and your jar is clean and ready for its next life.
We love seeing how our customers reuse their candle jars. Some of our favourite ideas include:
We get asked about candle refills all the time. While we love the idea, we’re currently holding off as there’s some concern about how heat exposure over time may affect the integrity of the glass. And your safety is our top priority.
These care instructions are designed specifically for the XL candles made in our workshops only. Every candle is different - smaller jars, different waxes, or commercial candles may have different burn guidelines. Always follow the manufacturer’s advice for other candles, and never leave any candle unattended while burning.
Made something beautiful in class? We’d love to see how you're using it or styling your jars, tag us on Instagram!
Published on Tuesday 6 May, 2025
Back to newsOther interesting reads
If you're on the hunt for fun team events in...
If you're looking for fresh and fun Sydney hens party...